Start with the video first to get a better grasp of the topic!
|
Skip Ahead to: |
Overview
Forms are templates for different work types that help you to capture information in a pre-determined layout. Forms help to maintain consistency in gathering user input, as required in projects and across projects.
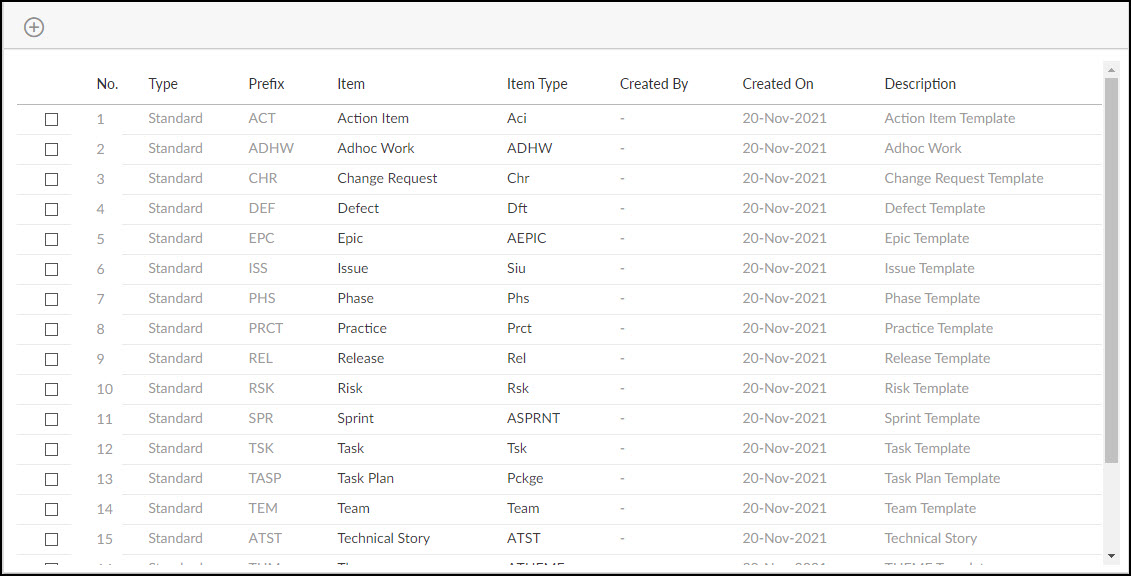
The product has predefined Forms for common work types in a project such as Issues, Defects, Change Requests, etc. Each Form can be configured independently to suit the requirement of your project. The instances created based on these Forms are ‘workitems’. The repository of information thus created, enables efficient management of projects and execution of processes in the organization.
You can configure the Forms to:
- Segregate and store information systematically
- Plan and track workitem
- Track Software Configuration Management (SCM) files
- Plan and track review of workitems
- Trace the relationship between workitems
- Collaborate on individual workitems
Forms created in the organization for projects (configured with Form scope as ‘Project-level’) and that flow down to the projects can be modified depending on the project-level settings configured when defining the Form. For example, a project manager can rename a section only if the Form setting allows renaming at the project level.
Forms in the application provide great flexibility in configuring the predefined Forms i.e., ‘Standard’ Forms by adding new sections and fields. You can also create your own Forms which will be listed as ‘Custom’ Forms in the Forms List view.
To create custom Forms and configure Forms, see Configuring Forms. The Forms created for your project will be confined to your project. However, you can even publish them to the organization.
Navigation
In the left navigation panel, expand the Recent Projects menu and select any project. Hover over the Project breadcrumb at the top, expand the Configure module, and select Forms.
Configuring a Form
You can create custom forms to capture and store data based on your requirement. You can also reconfigure both standard and custom Forms by adding sections, fields, etc. The configuration settings or changes to a Form, flow down to the level depending on the Form scope selected at the time of adding a Form.
From the Forms page, you can:
- Adding and Modifying a Form
- Configuring Form Sections
- Configuring Form Fields
- Configuring Form Workflow
- Defining Mind-map for Forms
Adding and Modifying a Form
- Click the Add New Form icon.
- In the Create New Form window that appears, enter Form Details, Item Type, Menu Positioning, and set Form properties.
Note: For custom Forms, the fields such as Item Type and Menu Positioning are one-time settings. - Set the Visibility: Control how the cards associated with the form are displayed using the Visibility option:
- Board & List View: Cards will appear in both the Execution Board and the workitem listing. You can add, manage, and track the progress of these cards visually on the Execution Board.
- List View Only: Cards will only be visible in the workitem listing (e.g., User Stories, Epics). These cards will not appear or be manageable on the Execution Board.
- Click the Create button to create a new form and the Reset button to discard the changes.

The Form is created and now listed in the Form list.
The following common tab is visible for each form:

