
In this article, we will help you understand how to manage your Project Calendar.
|
Skip Ahead to: |
Overview
When a project is created, the working pattern of the organization is inherited by default. A Project manager can modify the project calendar to define the working pattern or holidays as necessary for the project. The application helps an organization to capture the working pattern and leaves at all levels- organization, project, and resource levels in such a way that it is reflected in the project planning activities. Any changes to the calendar will be confined to the project.
At the project level, a project manager can set up the Project Calendar by:
- Defining the Weekly Pattern in the Project
- Defining the holidays in the Project
Navigation
Navigate to the breadcrumb at the top and hover over the Project name, expand the Configure module, and select Calendar.
Defining the Weekly Pattern in the Project
By default, the Weekly Pattern page displays the default working hours of the set for the organization.
1. On the Weekly Pattern page, you can set the default Working Hours and Start Time for yourself for each weekday. When you enter values in the hrs box and the time after the at box, the time is set as your default working time. For example, if you set 9 hrs in the first box and 8 a.m. in the starting at the box, the default time is set from 8 a.m. to 5 p.m. computing 9 working hours. However, you can set the working hours in the different time slots in the Advanced Settings.
Note: You can enter time in the calendar in the multiple of 15 minutes only for example – 8:15 a.m., 8:30 a.m., 8:45 a.m., 9:00 a.m., etc.
2. In the Set work pattern pane, you can set the working pattern for the week. You can specify working days by selecting it as a Full Working Day or Half Working Day from the drop-down. If you want to define a holiday then select the Holiday option from the drop-down list against that particular day.

Defining Holidays in Project
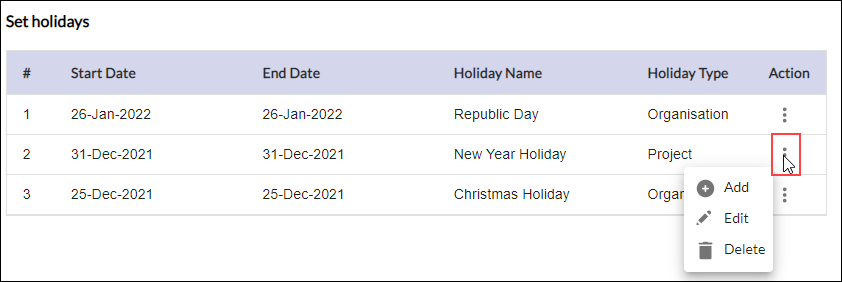
In the Set holidays pane, you can define holidays in the calendar.
- Enter the Holiday Date Range by selecting an appropriate Start Date and End Date. While entering the Start Date and End Date make sure that no holidays have the same dates or overlapping dates.
- Give a name to your holiday and select the holiday type.
- To add a new holiday, click the More Options icon in the Actions column and select the Add option. Enter the Start Date, End Date, Holiday Name, and Holiday type. Click outside the row to save the changes.
- Similarly to delete a holiday, click the More Options icon in the Actions column and select the Delete option.
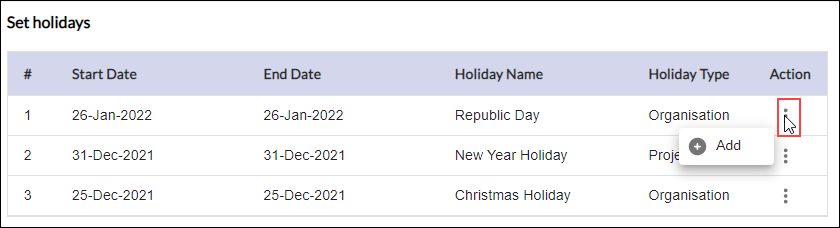
Organization Holidays
In the Set holidays pane, you can view a list of organizational holidays along with the Start Date and End Date. The organizational holidays are inherited in the calendar of every resource. You cannot add, modify or delete an organizational holiday but only view them.
Advanced Settings
To open the Advanced Settings page,
- Click the Advanced Settings link on the Weekly Pattern page.
- On the Advanced Settings page, you can set specific working hours, Start Time, and End Time for a particular day or period. You can set the actual working hours for a day in two or three-time slots.
- To add a new time slot, click the More Options icon in the Actions column and select the Add option. Select the day, enter Working hours, Start Time, and End Time. To modify an existing time slot, click the More Options icon in the Actions column and select the Edit option.
- To delete a time entry, click the More Options icon in the Actions column and select the Delete option.
