Evaluating and measuring the success of a project is a cornerstone of effective project management. In today’s dynamic business environment, organizations across industries are constantly striving to achieve their strategic objectives and deliver value to stakeholders through successful project outcomes. However, determining whether a project has achieved its intended goals and objectives requires a structured approach and robust evaluation methods.

This guide explores project success evaluation and measurement, providing project managers, team leads, and stakeholders with valuable insights into the key metrics, and steps for measuring project success. So let’s get started.
Importance of Evaluating and Measuring Project Success
Project evaluation and measurement are instrumental processes that provide invaluable insights throughout the entire project lifecycle.
The following points show why actively evaluating and measuring project success is essential:
1. Enhanced Decision-Making: You can gain a clear understanding of where the project stands. This real-time data empowers you to make informed decisions about resource allocation, risk mitigation strategies, and course corrections necessary to keep the project on track.
2. Early Identification of Issues: Proactive evaluation helps identify potential roadblocks and challenges early on in the project.
3. Improved Resource Allocation: Evaluation data sheds light on areas where resources might be underutilized or overallocated. This allows you to optimize resource allocation, ensuring your team’s skills and expertise are directed towards the areas that need them most.
4. Increased Stakeholder Confidence: Regular evaluation and transparent communication of project performance results foster trust and confidence among stakeholders.
5. Building a Culture of Continuous Improvement: The process of evaluation and measurement itself fosters a culture of continuous improvement within the project team.
Metrics for Measuring Project Success
Project success evaluation shouldn’t be a one-dimensional endeavor. A well-rounded approach utilizes a combination of metrics to provide a comprehensive picture of project health and performance.
Here are the key metrics to consider:
1. Financial Performance
☑ Gross Profit Margin (GPM): This metric calculates the profitability of a project by measuring the percentage of revenue remaining after accounting for the cost of goods sold. A high GPM indicates the project is generating a healthy profit after covering its direct costs.
☑ Return on Investment (ROI): This metric assesses the project’s overall financial return compared to the initial investment. A positive ROI indicates the project generated a return on the invested resources.
☑ Actual Cost: This metric tracks the total amount of money spent on the project throughout its lifecycle. Monitoring actual costs allows you to identify potential budget overruns and take corrective actions if necessary.
☑ Cost Variance (CV): This metric reveals the difference between the planned budget for a project and the actual costs incurred. A positive CV indicates the project is under budget, while a negative CV signifies cost overruns.
☑ Cost Performance Index (CPI): This metric evaluates how efficiently the project is utilizing its budget. A CPI of 1 indicates the project is on track to meet its budget goals. Values greater than 1 suggest favorable performance (under budget), while values less than 1 indicate cost overruns.
2. Project Efficiency and Effectiveness
☑ Productivity: This metric measures the output generated relative to the input resources used. In a project context, it could represent the amount of work completed per unit of time or cost. Higher productivity indicates the project team is working efficiently and maximizing resource utilization.
☑ Earned Value (EV): This metric helps assess project progress by comparing the value of the work completed (based on the approved project schedule) to the planned budget for that work. A higher EV indicates the project is ahead of schedule and within budget, while a lower EV suggests potential delays or cost overruns.
3. Stakeholder Satisfaction
☑ Customer Satisfaction: This metric gauges the level of satisfaction project deliverables bring to external clients or customers. Satisfaction surveys, feedback forms, and post-project reviews are common tools for measuring customer satisfaction. High customer satisfaction indicates the project met or exceeded their expectations and delivered value.
☑ Employee Satisfaction Score: This metric assesses the level of contentment and engagement among project team members. Employee satisfaction surveys can reveal valuable insights into team morale, workload management, and overall project experience. A high employee satisfaction score suggests a positive work environment and a team invested in project success.
Agile Project Management Metrics
Agile project management, unlike Waterfall, embraces adaptability and continuous improvement. Here, we’ll explore some key metrics that empower Agile teams to achieve success through ongoing measurement and adaptation:
1. Story Points
Story points are a relative unit of effort used to estimate the workload involved in completing a user story (a small, defined piece of functionality). Unlike traditional time estimates, story points focus on the overall effort required compared to other user stories within the project.
During backlog refinement, Agile teams assign story points to user stories. This helps prioritize work items, assess team capacity for each iteration (a short development cycle), and gauge progress throughout the project.
2. Burndown Charts
Visual representations that track the remaining work (often measured in story points) left in a sprint or iteration. An ideal burndown chart follows a downward slope, indicating work is being completed steadily throughout the iteration.
Deviations from the ideal downward trend might signal scope creep, underestimated tasks, or capacity limitations. This allows for prompt corrective actions like task replanning or adjusting sprint goals.
3. Cumulative Flow Diagrams (CFDs)
These charts visually depict the flow of work items (user stories, bugs, etc.) through different stages of the development process (e.g., To Do, In Progress, Done).
CFDs help identify bottlenecks in the workflow. For example, a large build-up of tasks in the “In Progress” stage might indicate capacity limitations or inefficiencies in the development process. By analyzing CFDs, teams can identify areas for improvement and optimize workflow practices.
4. Lead Time
The total time it takes to complete a work item, from the moment it enters the development process (often when a user story is added to the backlog) to when it’s delivered in a usable state.
A low lead time indicates a team’s ability to deliver value quickly. Monitoring lead time trends allows teams to identify opportunities for process improvement and faster delivery cycles. This can involve optimizing backlog refinement, enhancing communication, or streamlining testing procedures.
5. Cycle Time
The average time it takes to complete a work item once it enters the active development stage (e.g., In Progress) until it’s delivered. This excludes the time spent waiting in the backlog queue.
Cycle time helps assess the efficiency of the development process itself. This might involve improving collaboration practices, addressing technical dependencies, or optimizing testing strategies.
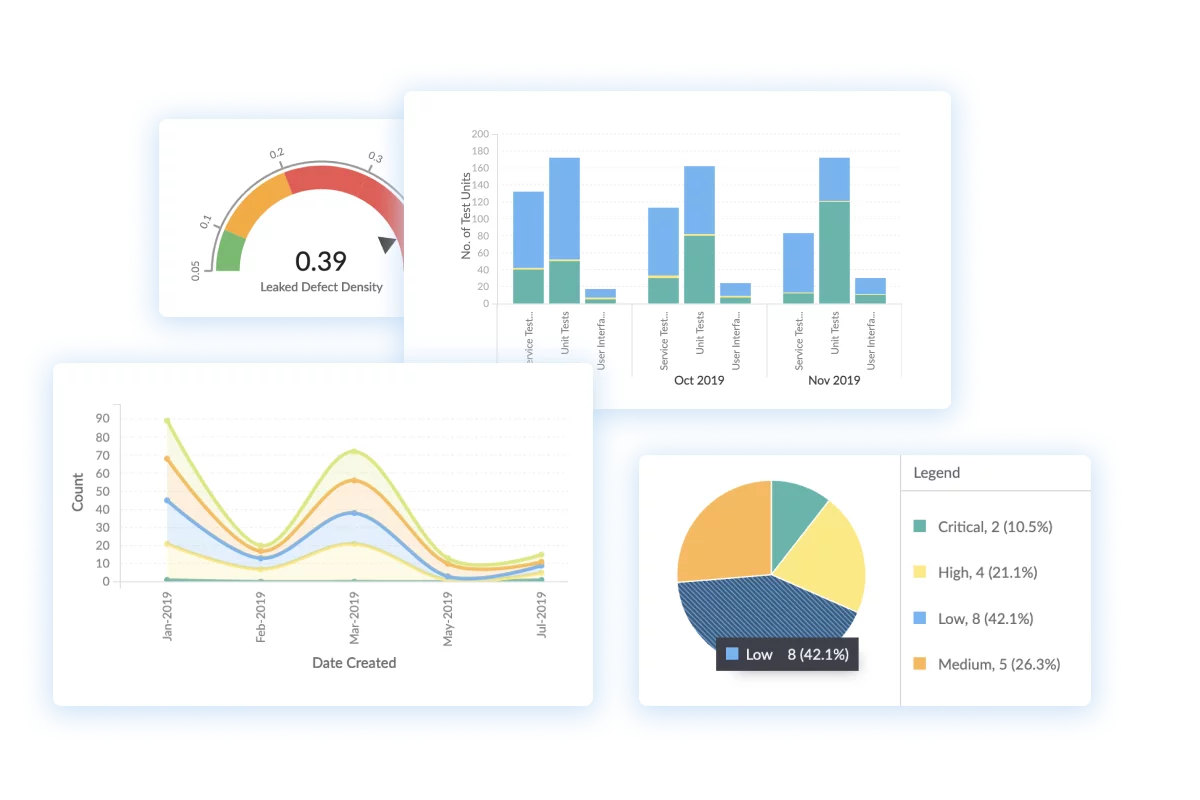
6. Defect Density
The number of defects identified per unit of work completed (often measured as defects per story point).
A low defect density indicates a high-quality product. Tracking defect density trends allows teams to assess their testing processes’ effectiveness and identify improvement areas in quality control. This can involve implementing more rigorous testing procedures, conducting code reviews earlier in the development cycle, or improving communication between developers and testers.
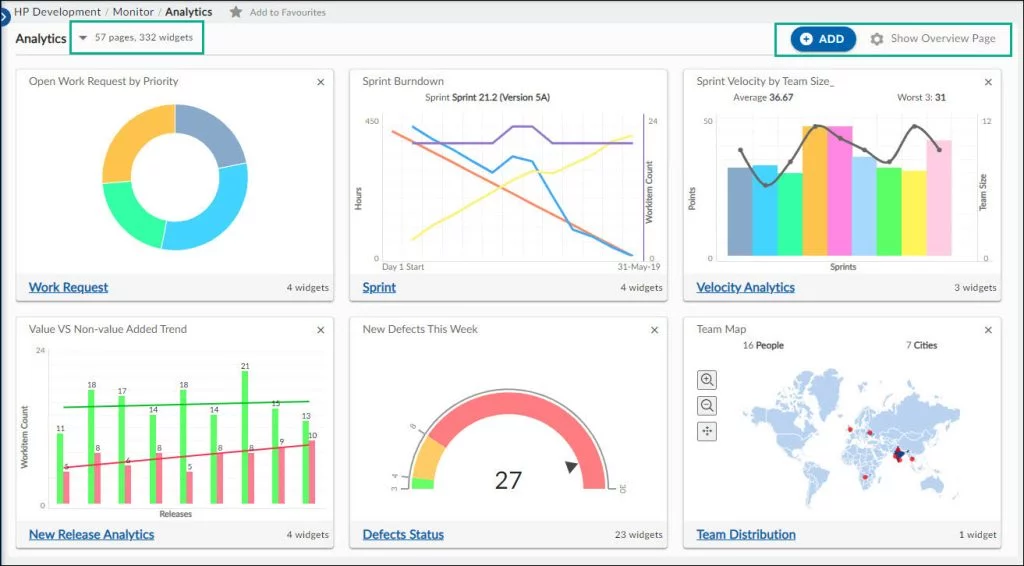
Nimble can significantly enhance the management of these Agile metrics by providing real-time analytics, customizable dashboards, and automated reporting features. With its AI-driven features and insights, teams can easily track story points, monitor burndown charts, and analyze cumulative flow diagrams. Nimble’s advanced reporting capabilities streamline the tracking of lead and cycle times, while its defect-tracking features help maintain high product quality. By centralizing data and offering actionable insights, Nimble empowers Agile teams to optimize their workflows and continuously improve their project management processes.
Steps for Measuring Project Success
Project success evaluation shouldn’t be a one-time event. It’s an ongoing process that ensures your projects stay on track and achieve their desired outcomes.
Typically, the process of measuring the success of any project includes the following steps:
1. Define Project Objectives and Success Criteria
The foundation for successful measurement lies in clearly defined objectives. What are you trying to achieve with this project? Outline specific, measurable, achievable, relevant, and time-bound (SMART) objectives that translate your project’s vision into actionable targets.
Once you have clear objectives, establish success criteria. How will you know if you’ve achieved your project goals? Define measurable metrics that will be used to track progress and assess success based on the predetermined objectives.
2. Select the Right Metrics
Don’t get bogged down by a data overload. Choose a focused set of metrics that provide the most impactful insights aligned with your project’s specific goals and priorities. Consider factors like project scope, budget, schedule, quality, customer satisfaction, and team morale.
There’s no one-size-fits-all approach. The most effective metrics will vary depending on your project’s unique nature.
3. Establish a Measurement Baseline
Set a baseline for each of your chosen metrics. This baseline could be a planned schedule, budget allocation, or targeted quality standards. Having a baseline allows you to compare actual performance against the predetermined benchmarks throughout the project lifecycle.
4. Collect and Analyze Data Regularly
Don’t wait until the project’s end to assess performance. Continuously collect data throughout the project using various methods like progress reports, quality checks, surveys, and cost-tracking tools.
Regularly analyze the collected data to identify trends, deviations from baselines, and potential roadblocks. This allows you to take proactive corrective actions and adjustments as needed to steer the project toward success.
5. Communicate Findings to Stakeholders
Transparency is key. Regularly communicate your project’s performance metrics to stakeholders, including customers, sponsors, and team members. This fosters a sense of ownership, allows stakeholders to provide valuable feedback, and ensures everyone is aligned on project goals
6. Conduct a Post-Project Evaluation
Once the project is completed, conduct a comprehensive evaluation. This evaluation should not only assess whether you achieved the project objectives but also identify lessons learned, areas for improvement, and best practices that can be applied to future endeavors.
Conclusion
Measuring the success of a project is essential for ensuring that project objectives are achieved, stakeholders are satisfied, and organizational goals are met. It’s important to remember that project success goes beyond just meeting budget and schedule constraints. True project success is achieved when the project delivers value to stakeholders, meets or exceeds quality standards, and contributes to the overall strategic objectives of the organization.
Ready to take your Agile project management to the next level? Discover how Nimble can help you optimize workflows, enhance collaboration, and achieve continuous improvement. Try Nimble today and transform your project management experience! Visit our website to learn more and sign up for a free trial.


